
I was recently asked to be a vendor in an area Shopping Expo
along with several other women with direct sales businesses.
The theme was to be Valentine's Day,
and boy, did I ever have fun putting these projects and cards together!
along with several other women with direct sales businesses.
The theme was to be Valentine's Day,
and boy, did I ever have fun putting these projects and cards together!
 This little treat pouch was my Make-n-Take. It is made using one of our Crumb Cake envelopes! Tucked inside are two candy bars that have been covered in our Designer Series Paper. The stamp set is Valentine Defined from the Occasions Mini.
 This is a 3 X 3 card and I just love how it turned out. The designer paper is called Love Impressions. The little dots accent the Embosslits Scalloped Heart of Hearts Die cut from our new Glimmer Paper from the Occasions Mini. I love this paper so much as you will see with several other projects shown here. The banner was taken from the 'a la Carte stamp called Be My Valentine. It's popped up with Dimensionals.
 Love Impressions Paper again, on this 3x3 card,
along with that Glimmer Paper for the little punched heart inside a Treat Cup.
 I think the Perfect Polka Dots Impressions Embossing Folder
really picks up the dots in the designer paper.
 The Framed Tulips Textured Impressions Embossing Folder
is used around the edge of this pretty card.
The stamp set is Valentine Defined and the little hearts on stems look like flowers, don't ya think?
 Eat Chocolate is the name of this stamp set and I couldn't resist taking a 'bite' out of that candy bar with the Scallop Circle Punch. The little bon-bons have been topped with Crystal Effects to mimic a chocolate ganache. Yum!
 This technique is called Faux Irish Twist. It has the look of quilting.
 Inspired by Julie Davison
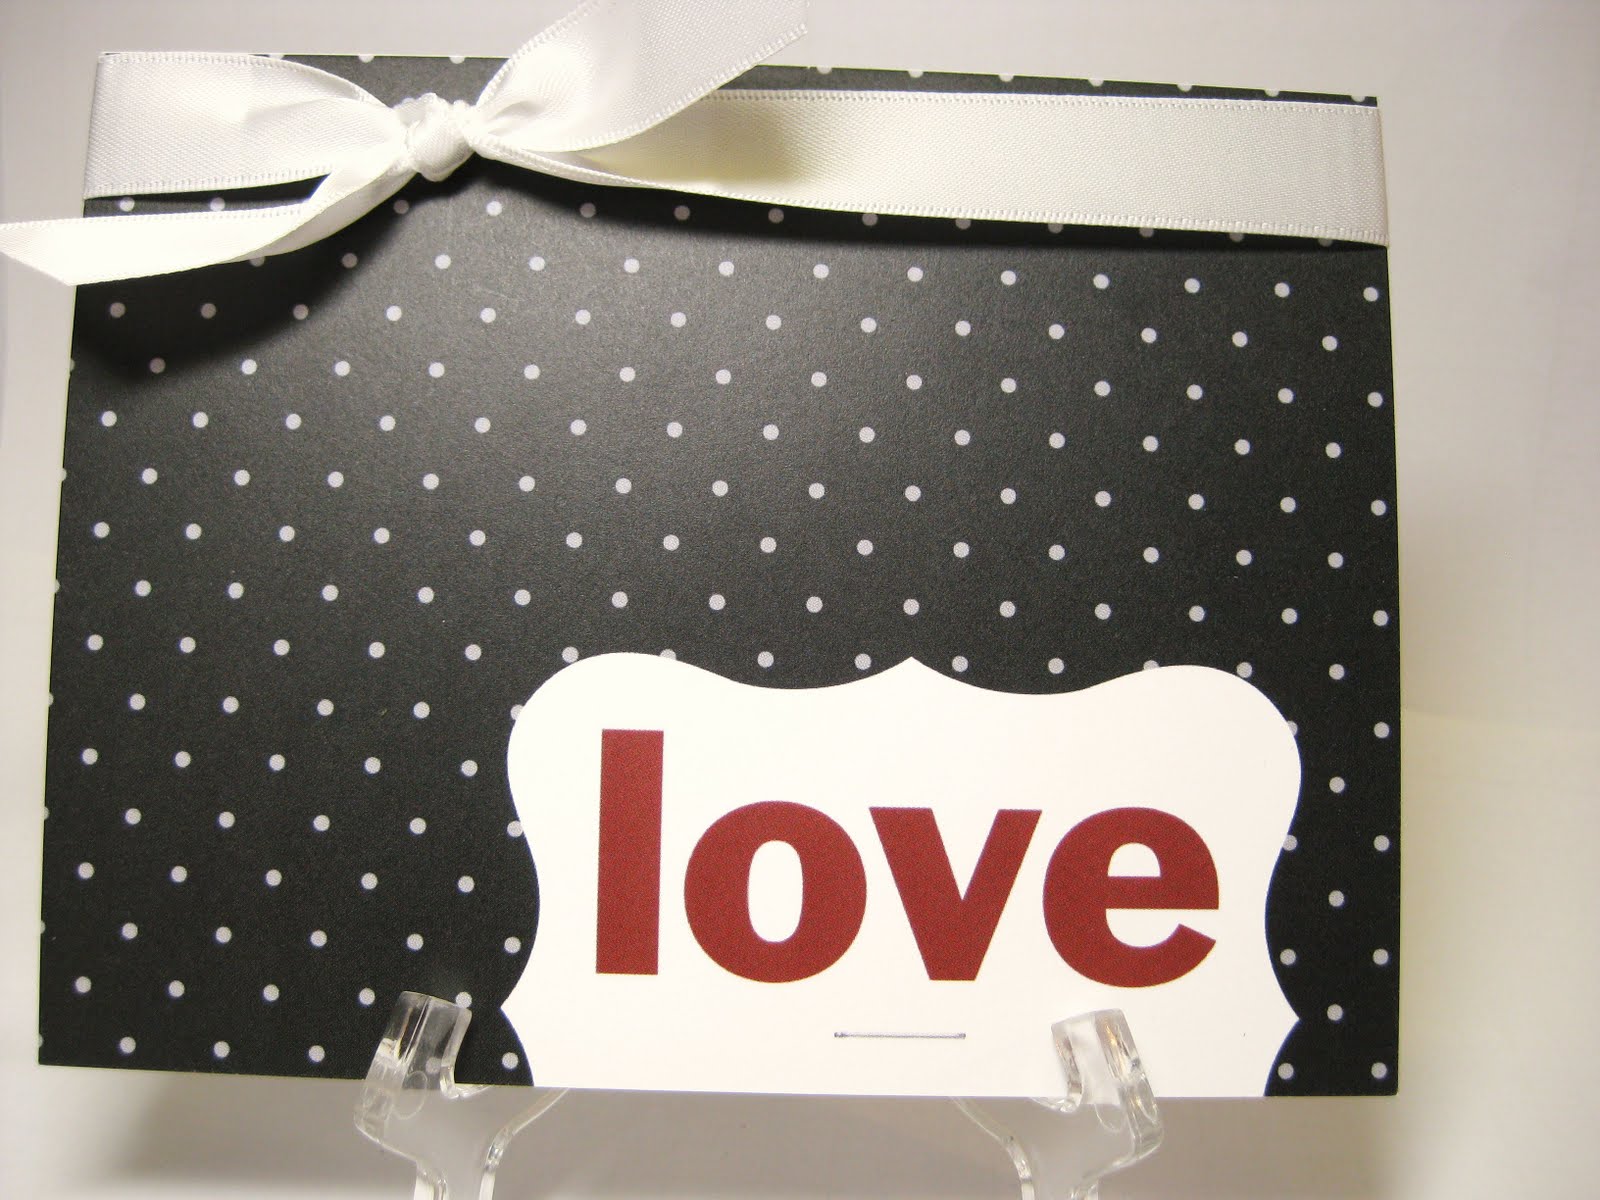 Can you believe this card was made using the My Digital Scrapbooking program?
We received it at the Leadership conference in Nashville.
All I added was the ribbon. It's so cute, right down to the staple underneath the love!
That program is not just for scrapbooking!
 I saw this design on Becky Robert's blog, (she is simply amazing). It uses the new Create a Cupcake stamp set and the Build a Cupcake Punch that goes with it. Nothing says love more than a cupcake!
 I think this card comes close to being almost perfect. I love clean and simple.
Angie Juda used the Love You Much set.
Pretty In Pink and Baja Breeze are so pretty together.
 This embossed paper is from the Love Impressions specialty package. It contains two each of two single-sided embossed designs that have a thicker, rich feel. And two each of four double-sided designs on text-weight paper. The ribbon is Rose Red Seam Binding. It's gathered by fraying one end and pulling one of the strands in the middle. I adhered it by using Sticky Strip. The sentiment, Watercolor Trio, is retired, but how perfect for all those little hearts above it?
Inspired by Nancy Littrell
 Black and Real Red are so dramatic together for Valentine's Day. And there's that Glimmer Paper again! Stamp set is Things I Love.
 Top Note Die as a treat topper for little cello bags
filled with chocolate goodies.
 Love this Springtime Vintage Designer Paper,
and yes, that's FABRIC to match!
 Matchbox Die two ways.
On the right, the center was punched out using our Full Heart Punch.
I covered the opening with a piece of transparency sheet.
Then filled it with conversation hearts.
The one on the right.....
scroll down to see what I did with it!

 When you pull open the little drawer, up pops a Glimmer heart!
I saw this as a Christmas treat box and thought it would be so cute for Valentine's Day.
 Mini paper bag ready for goodies.
The top edge is done with the Eyelet Border Punch.
 Sour cream containers in both designer paper and transparency sheet.
The Glimmer Paper is punched with the Scallop Square and Small Heart.
 Milk Carton Die. This should be filled with Red Hots!
 These are clothes pins covered in Real Red Designer Paper and topped off with.....GLIMMER PAPER hearts! I just can't get enough of it!
 So many nice ladies stopped by my table, and to thank them, I gave them one of these little tubes of M & M's with a heart on top. They looked so pretty in the basket.
Oh my, Pam, what awesome displays! You go girl! Sorry I missed it.
ReplyDeletejudy s
These are dynamite projects, Pam! I love them all. This is my first time visiting your blog, (got here from Stampin' Connection) but it will not be my last! Thanks for sharing your talents with us.
ReplyDeleteEverything is adorable, Pam! Love it all!
ReplyDeletei love love LOVE all the LOVE LOVE LOVE on this page! i'm a huge fan of the candies on the bottom. i need to make those!
ReplyDeletePam, you are one talented lady! If I had to choose which project I liked best, I wouldn't in a million years begin to choose! They are all gorgeous!
ReplyDeleteHugs, Barb
What a busy bee you have been. I am totally blown away by all your creations and love them all! I wish we lived closer so I could come play. =]
ReplyDeleteWOW Pam, what GREAT ideas & cute projects. Thanks for sharing!
ReplyDeleteCathy